


How to use mockups?
In this very short tutorial you will find few hints on how to use PSD mockups. This guide can be applied to any mockups you will find over the internet, but keep in mind that I write it specially for mockups that can be found here on mockups-design.com
What you will need?
If you want to use and customize mockups that are prepared as PSD files, you will need a few things:
- Software for unzipping packed files (WinRar, WinZip etc).
- Basic skills in Adobe Photoshop.
- Adobe Photoshop in version at least CS6 .
Download your mockup
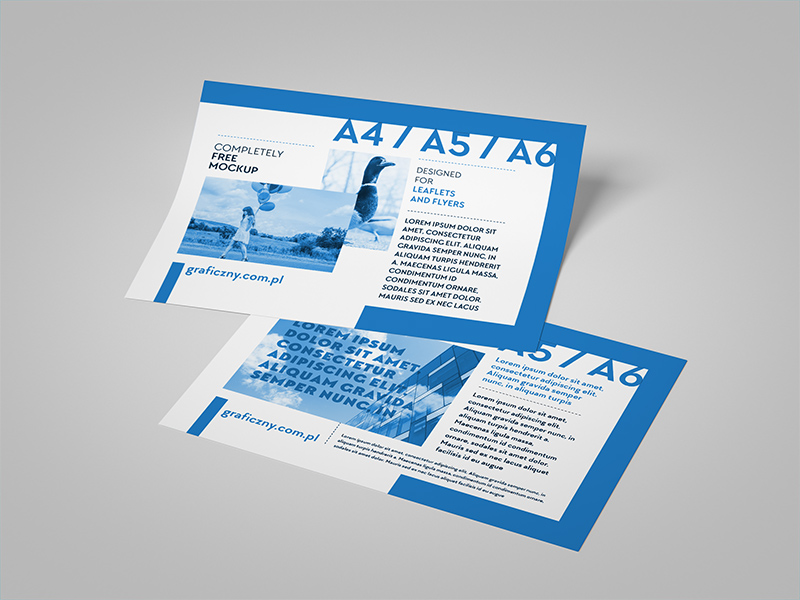
To begin using mockups you will need any PSD mockup that can be downloaded from the web. As for example, I’ll guide you how to use my flyer mock-up. It can be found right here.
At the bottom of the page there is a download button. You have to click on it and download a zip file. You can write it anywhere you want on your hard drive.
Download may take a few minutes, as mockup files can be pretty large.
Unpack it
As soon as you download your mockup, probably you will need to unpack it. For mockups from mockups-design.com you will need to unzip it, as this is the format I use.
But you may encounter .rar or .7z as well. Some versions of Windows have zip extractor that are preinstalled, but if your operating system doesn’t have it, you will need to download some unpacking software.
The most popular program for such operation is WinRar – we use it for years and it works well. But there are plenty of awesome unpacking software so it is quite easy to find the right one.
Read info about it
When all files are extracted, you will notice three kind of files:
- PDF file
- PSD file or files
- JPEG file or files
In the PDF there is a mockup license. This is where you will learn what you can do with the file, whether you can use it in commercial work, etc.
For example, license from mockups-design.com contains info that you can use my mock-ups for private and commercial works, but you cannot distribute it outside mockups-design.com site as PSD file.
A JPEG file is just a preview of the mockup so you can quickly see what the artwork looks like.
Open it
Now let’s take care of the PSD file. When you double click on any PSD file, Photoshop (or any other software that can edit PSD files) will start.
If you will open psd from my flyer mockup, you`ll see example project that is used as flyer design.
What you will need to do, is to change this project and customize background color. Both modification can be done on “Layers” panel.
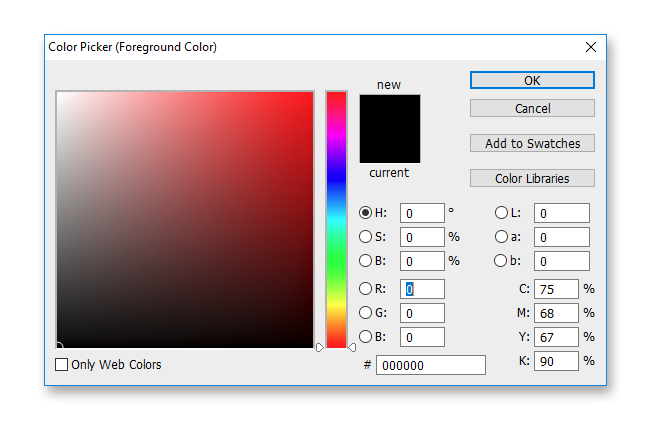
Change background color
To change the background color you`ll have to double click on layer thumbnail, that is placed on the right of the layer name (Background_Color).
Color Picker panel should appear and in this panel you can set any color that you like.
Notice that for in most cases you should use light colors, as the Background_Color layer is put to Linear Burn (or sometimes Multiply) blend mode. It means that the background will be darker than the color you picked.
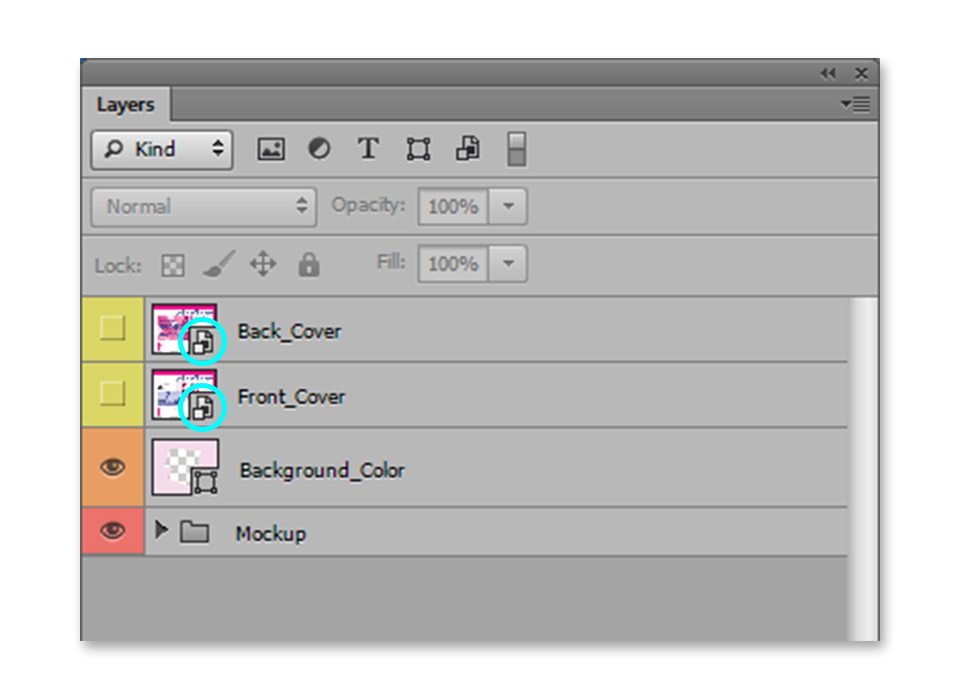
Find Smart Object layer
Of course the most important part of the mockup is the project of the material that you want to customize. Fortunately, it’s very easy to change it. To do this we have to find Smart Object Layer that contains the project. Remember the layer panel? This is the place where your search should begin.
Layers with projects usually have names that easily allows to identify themselves – i.e. „project here”, „design” etc. In this case it will be Front_Cover.
If you will have any problem with finding this layer, look for the small icon that indicates that this layer is „Smart Object”. This icon is highlighted on the image on the below.
Paste your project
After you`ve localized the Smart Object Layer you need to double click on it’s thumbnail. When you do this, new window will appear, and this is the place where you should paste your new design. Of course, you could even make it from scratch here, but I`m not recommending this.
Your project should be done in another file (for example in Photoshop or Illustrator), and all you need to do is paste it into this smart object. As you do this, save the file, close the window and you should see that your project is beautifully pasted into the mockup.
That’s it! You have done it. Save the file and share your design with the rest of the word.